If you already have an Ethereum-compatible (EVM) wallet — such as MetaMask, Trust Wallet, or another Web3 wallet — you can easily import it into your Demos Wallet. This allows you to manage all your assets and accounts in one place and view a single, unified balance across networks, thanks to the Demos SDK's chain abstraction layer.
Follow these steps to securely import your existing EVM account:
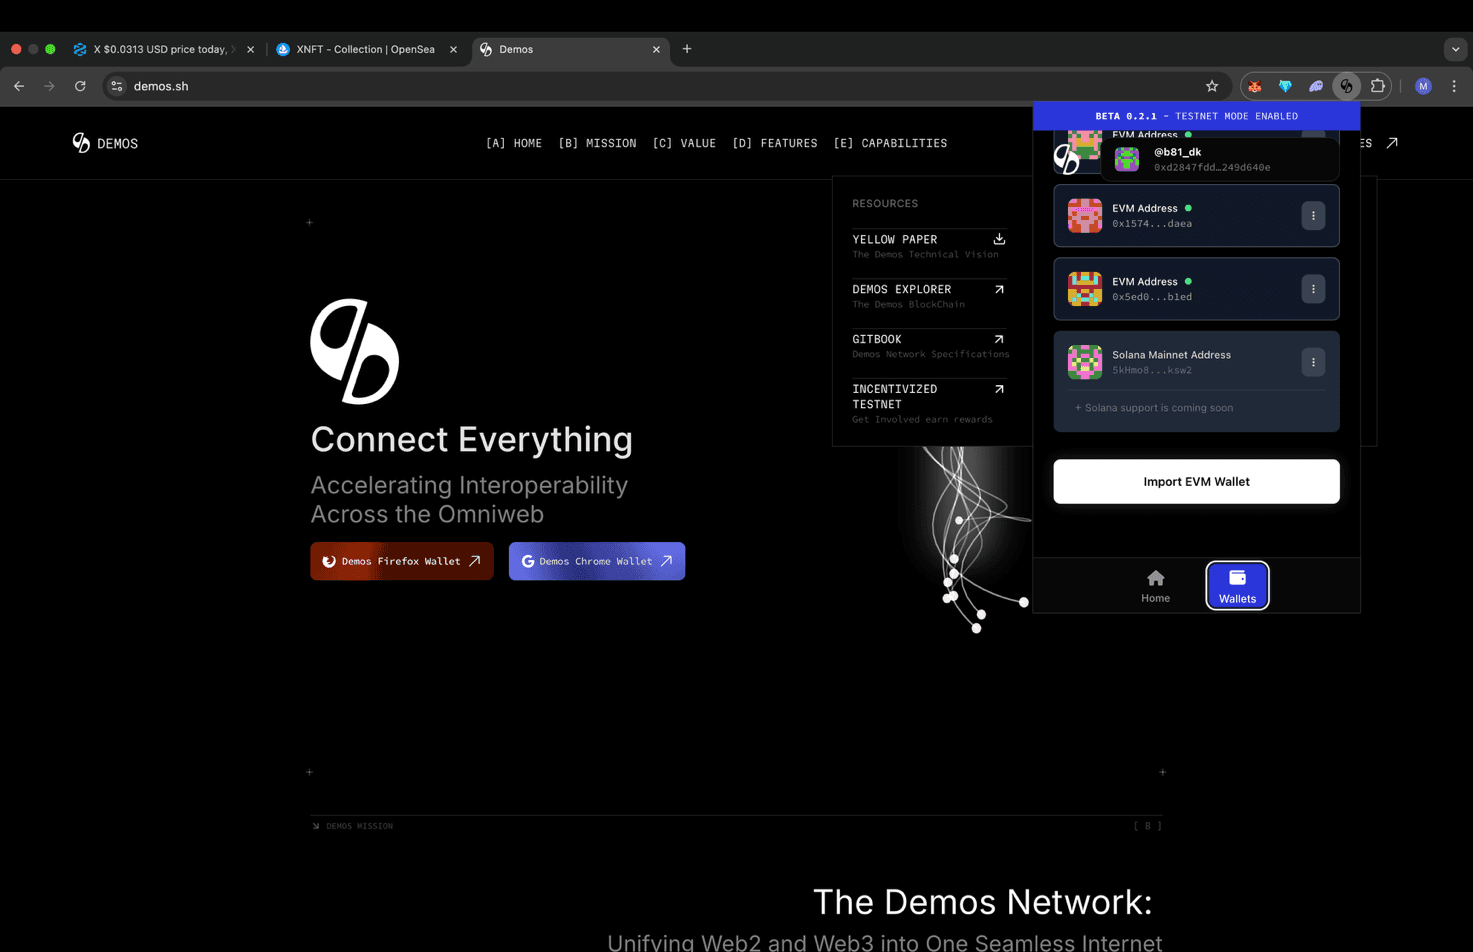
Step 1: Open the Demos Wallet
Launch your Demos Wallet application or browser extension.
In the bottom-right corner of the wallet interface, click the "Wallets" tab to open your wallet management menu.
Step 2: Select "Import EVM Wallet"
In the wallets section, click the box labeled "Import EVM Wallet."
This option allows you to connect external Ethereum-compatible wallets by entering their private keys.
Step 3: Choose the Network
A new screen will appear prompting you to select a network.
Click "Ethereum Mainnet" to import your existing Ethereum account into the Demos ecosystem.
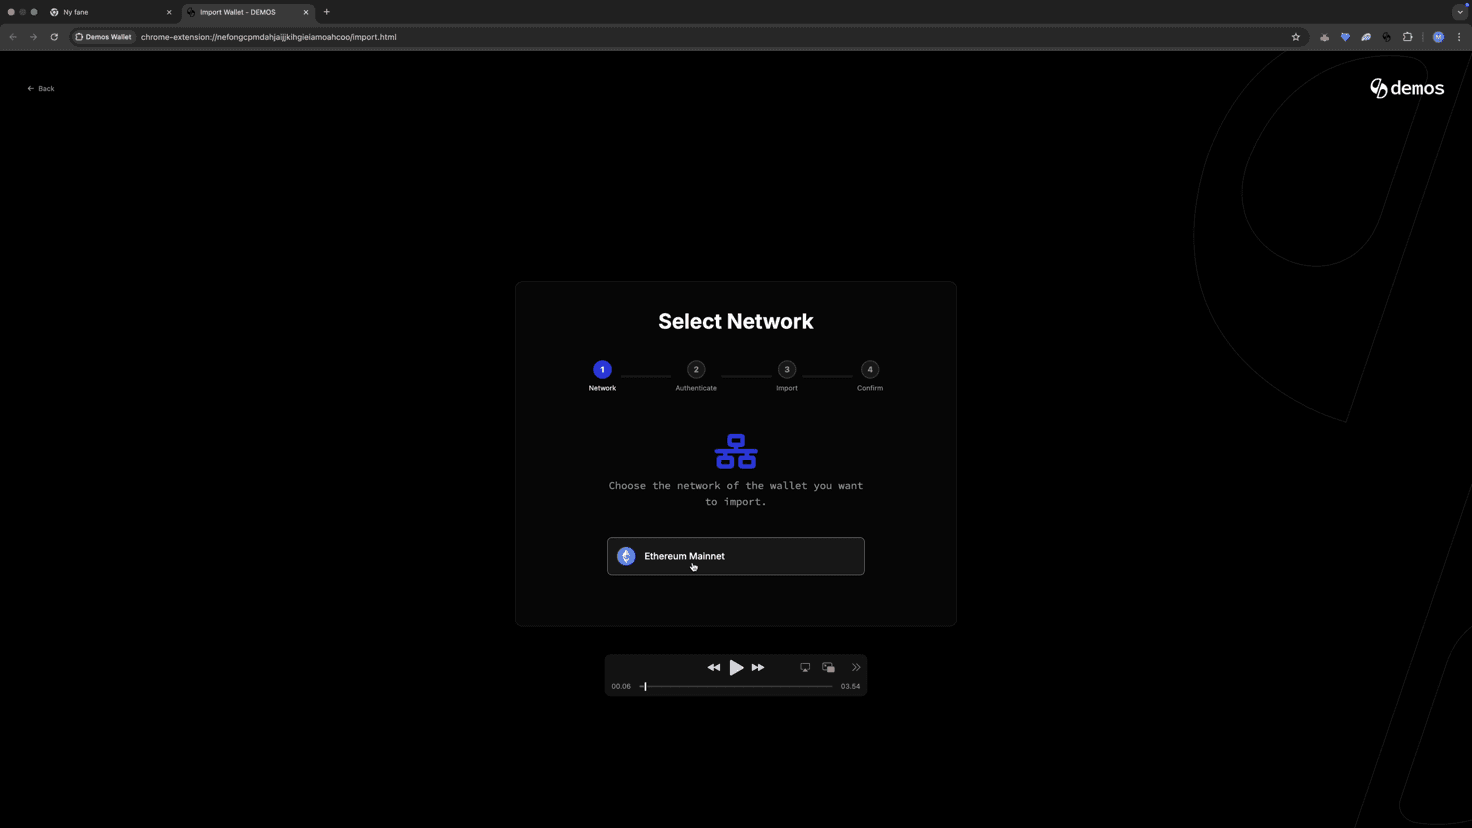
💡 Other EVM-compatible networks will be supported soon. For now, choose Ethereum Mainnet for the import process.
Step 4: Authenticate with Your Demos Password
For security purposes, enter your Demos Wallet password when prompted.
This verifies that you're the authorized user performing the import.
Step 5: Paste Your Private Key
Locate the private key of the wallet you want to import. You can usually find this in the Security or Account Information section of your existing wallet (e.g., MetaMask).
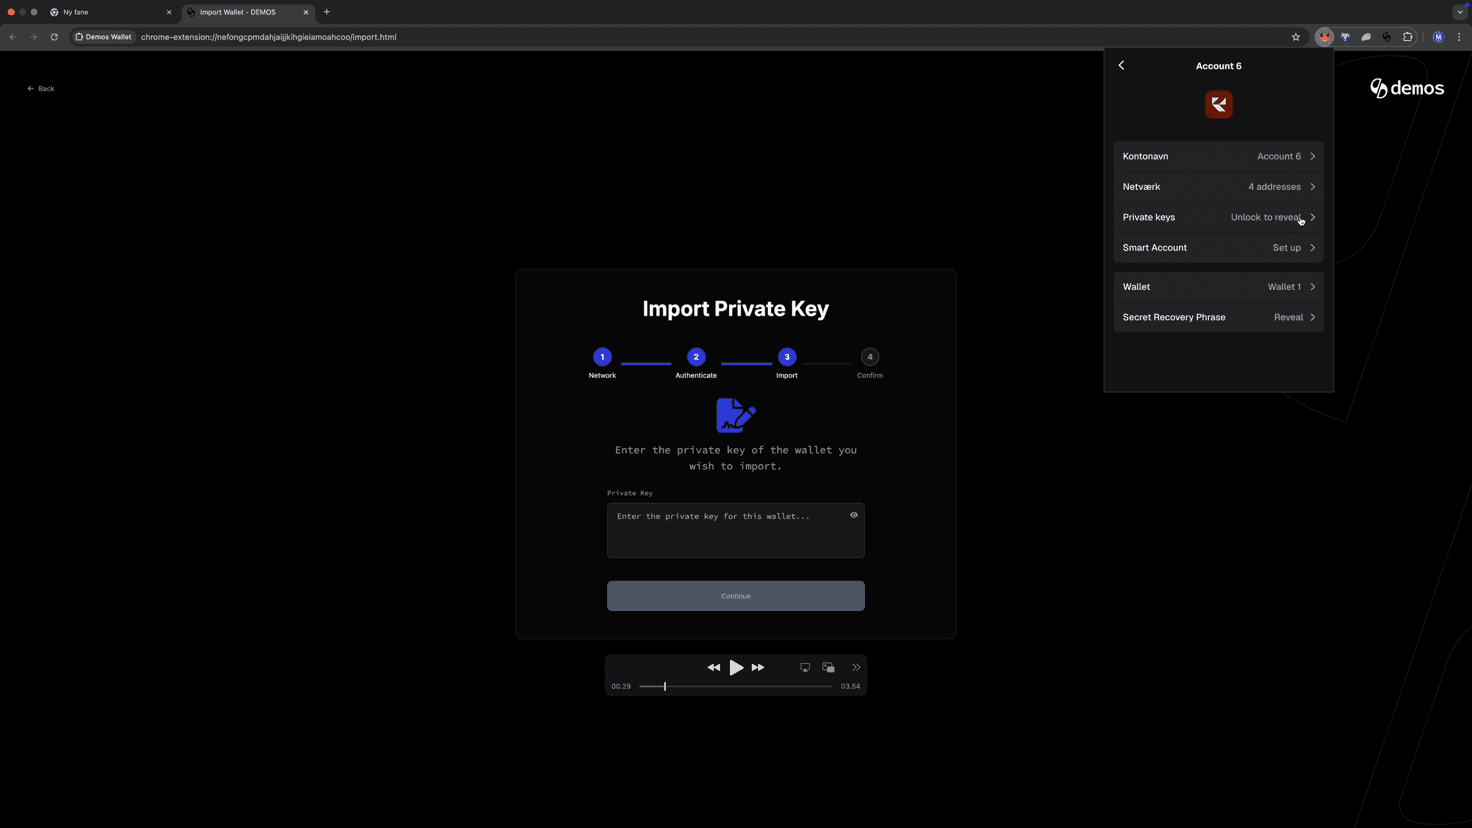
Once you have it, paste the private key into the designated input field in Demos Wallet.
⚠️ Important: Never share your private key with anyone. Keep it stored securely offline. Demos will never ask you to send it externally.
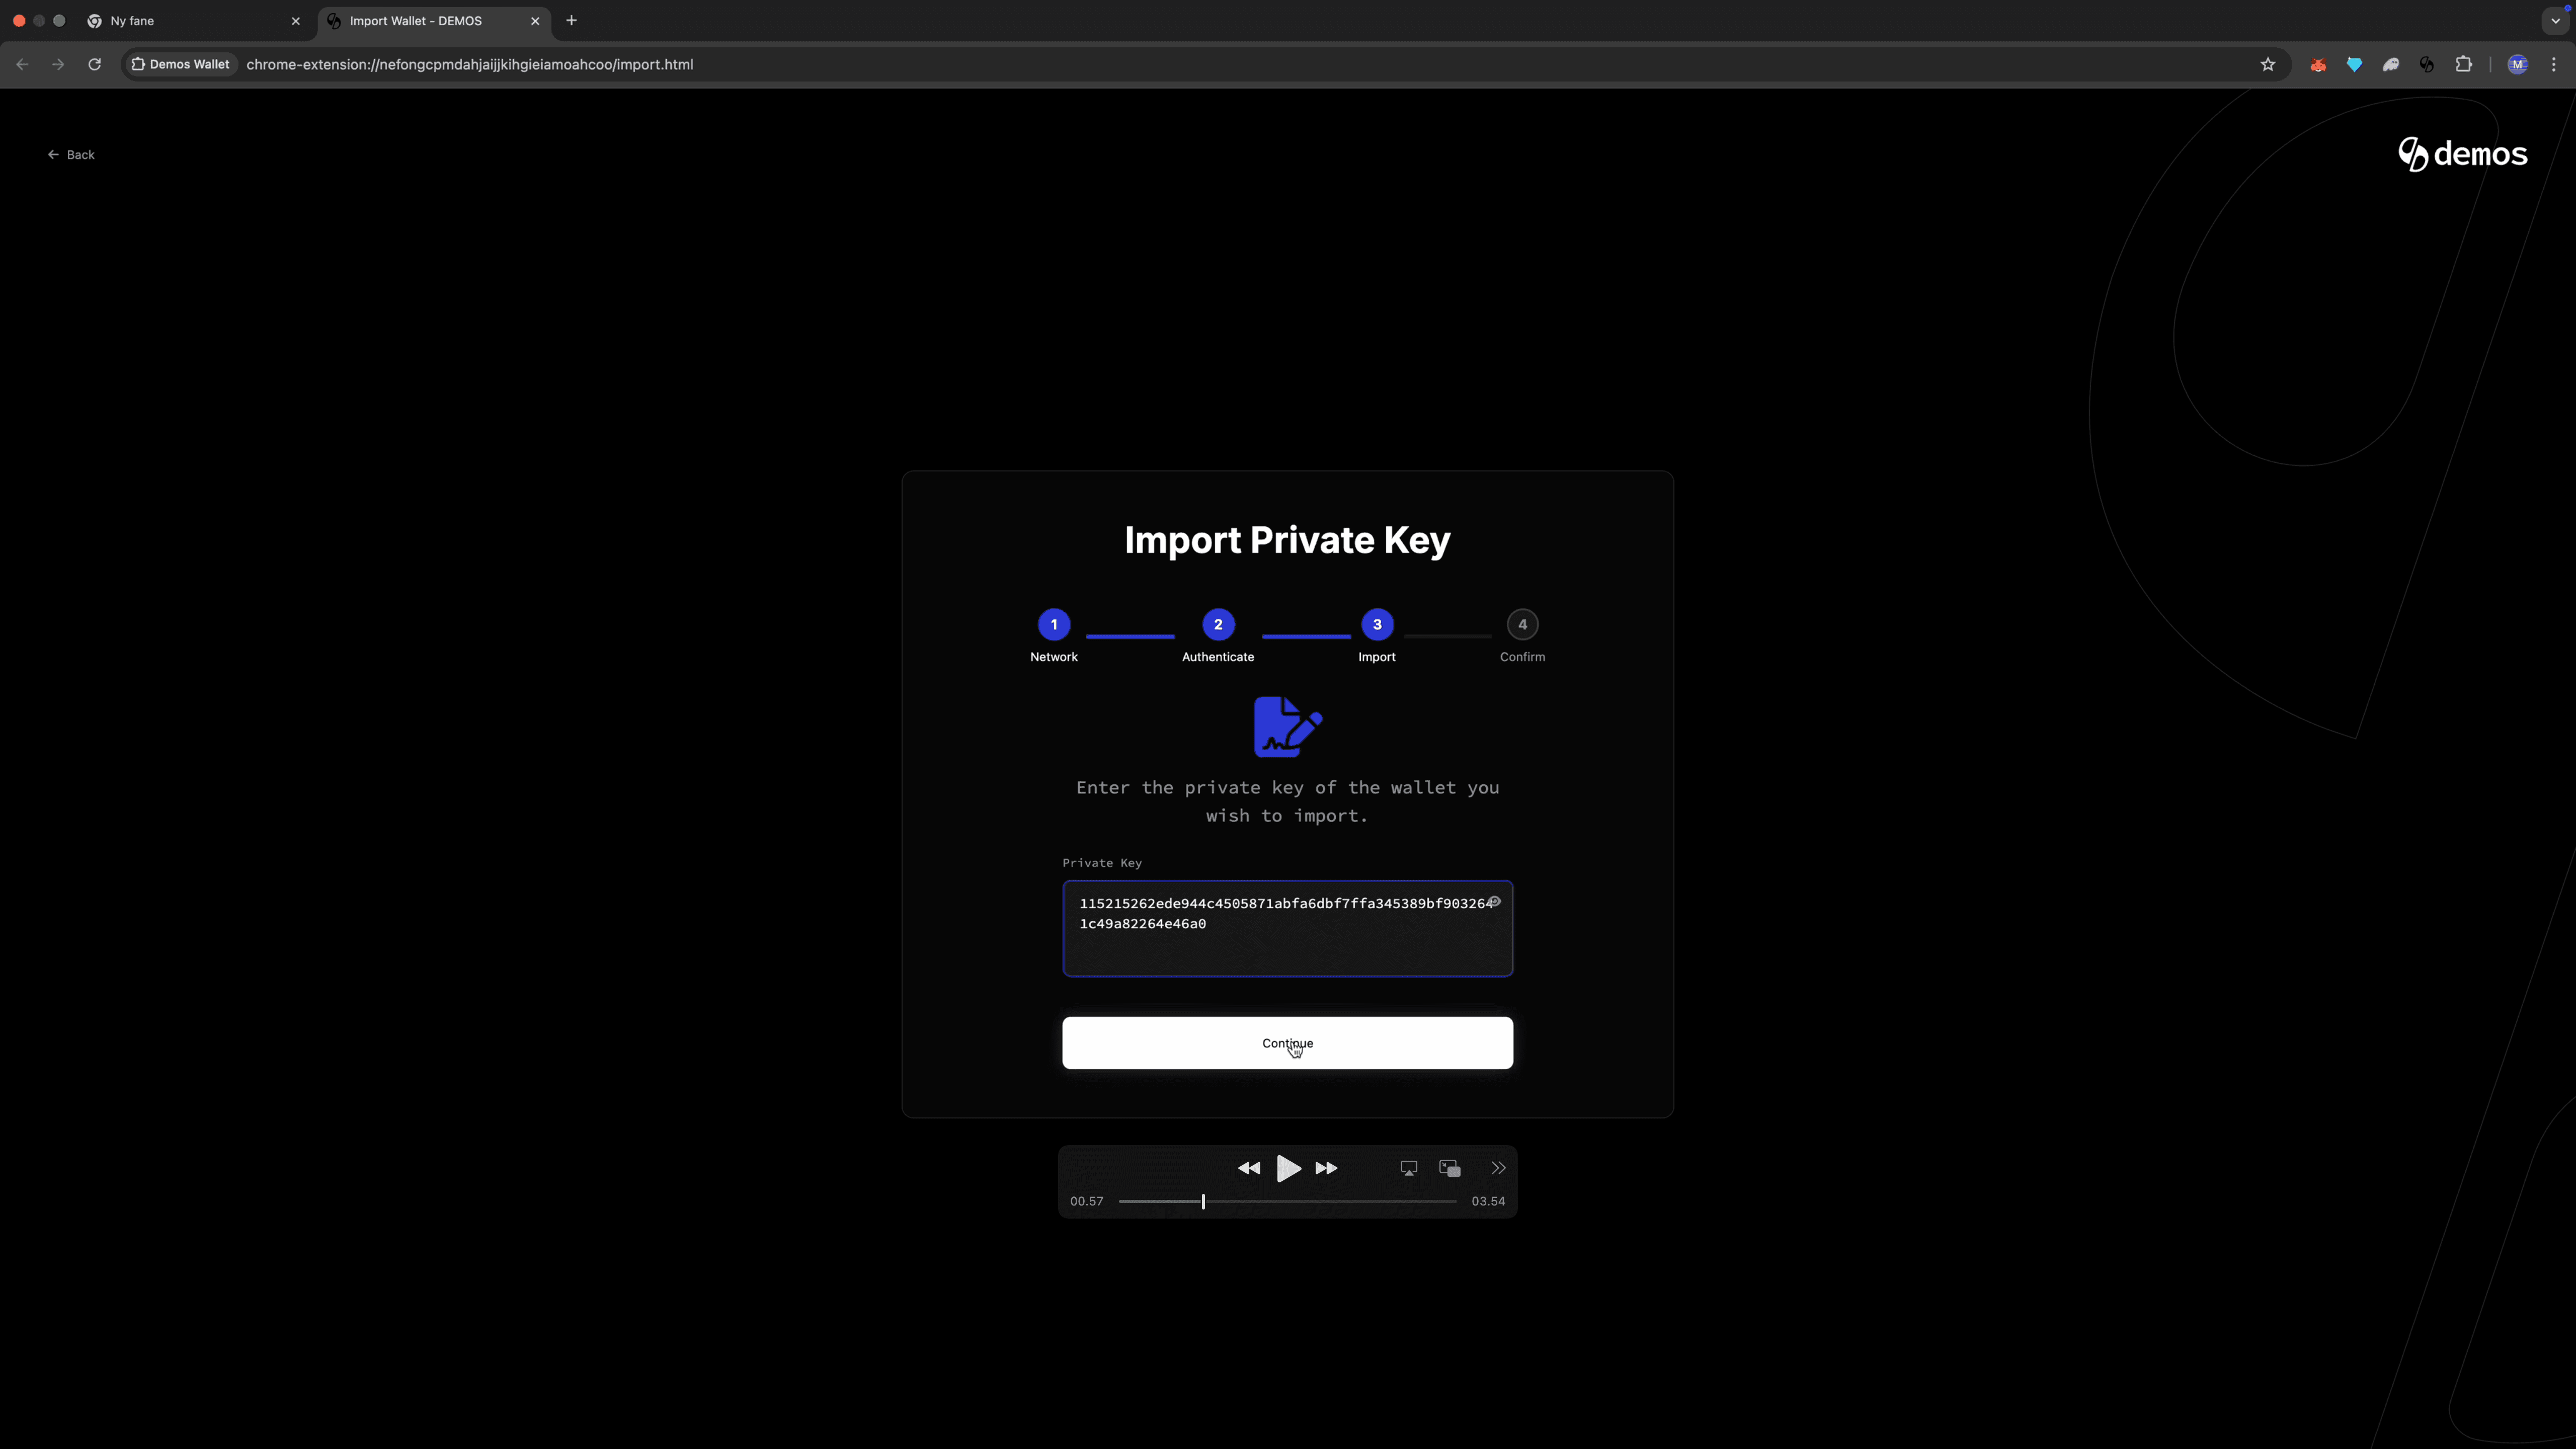
Step 6: Continue the Import
After entering your private key, click "Continue."
Demos Wallet will verify and prepare your account for import.
Step 7: Confirm the Wallet Address
A confirmation screen will display the wallet address associated with the private key you entered.
Double-check that the address matches your original EVM wallet, then click "Confirm and Import."
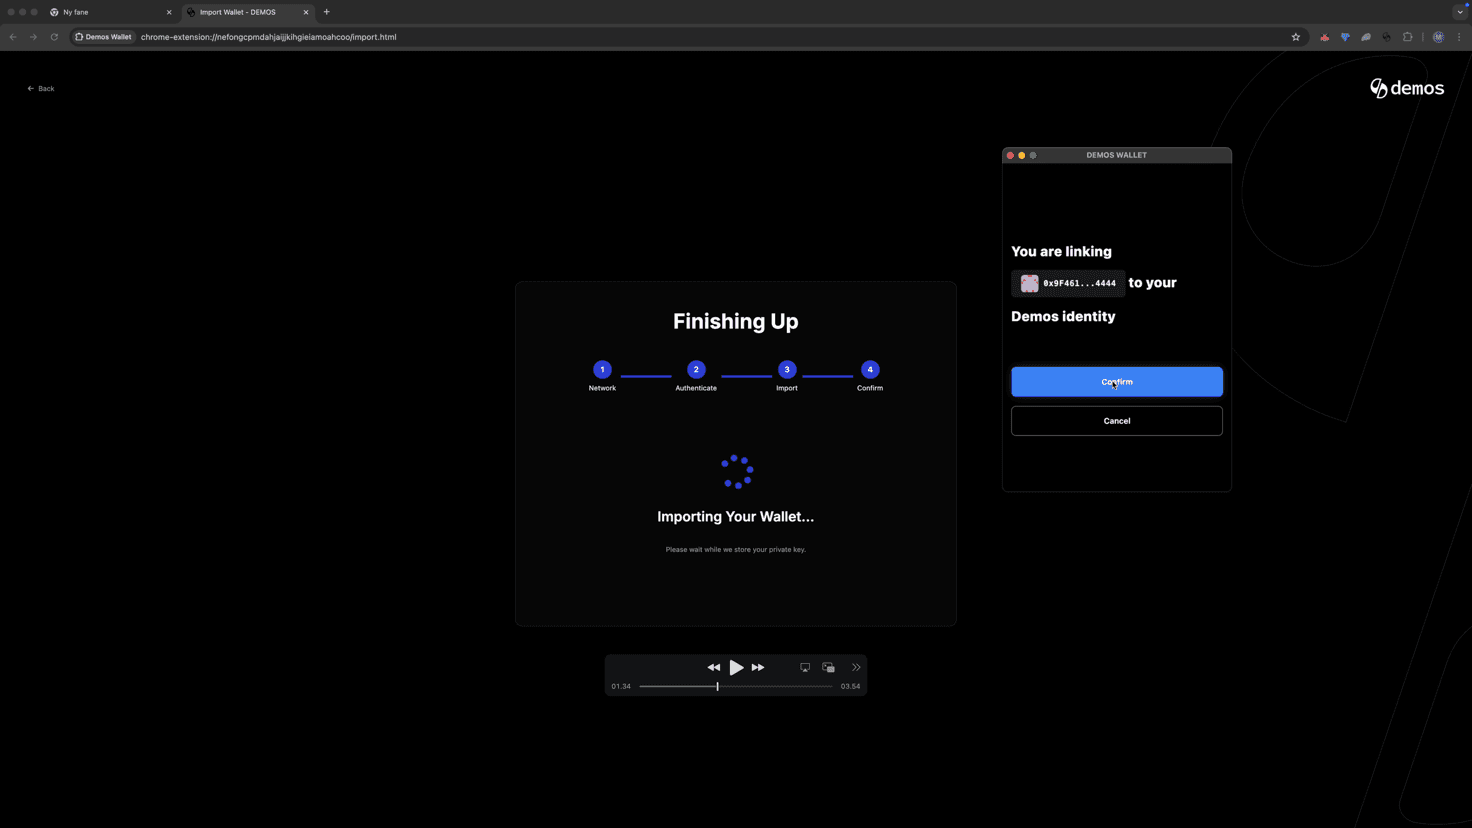
Step 8: Final Confirmation
A small confirmation box will appear asking you to verify the import action.
Click "Confirm" once more — the box will close automatically once the process completes.
✅ Success!
You've successfully imported your EVM wallet into Demos Wallet.
Your EVM account will now appear in your wallet list, and your balances will be seamlessly integrated.
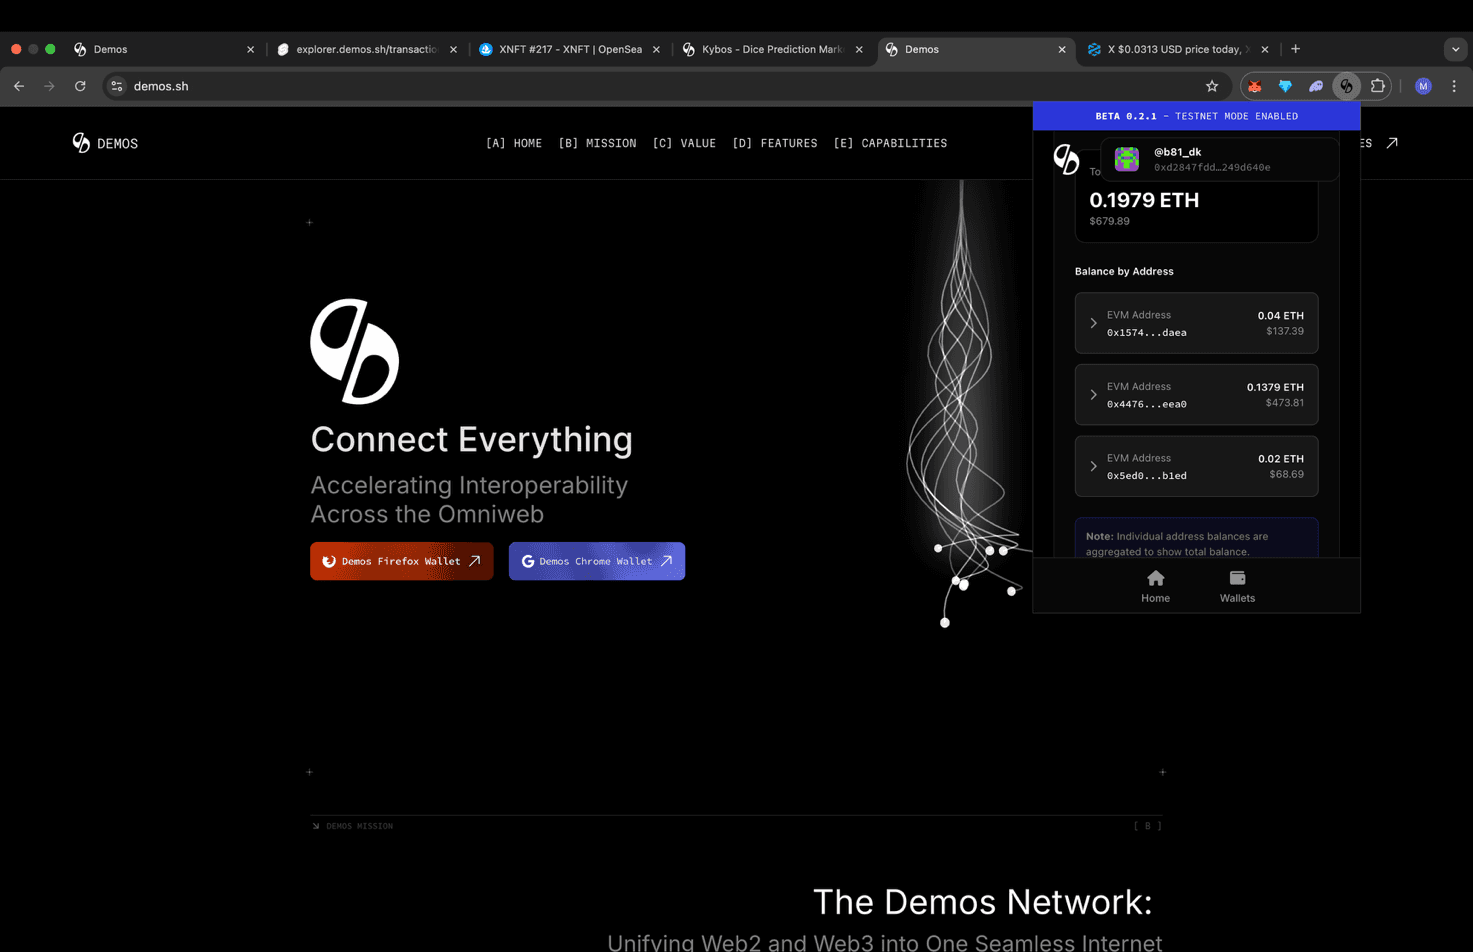
💎 Unified Balance View
Notice how your total balance now displays as one unified value across all connected wallets and supported networks. This is made possible by Demos' chain abstraction layer, powered by the Demos SDK, which automatically aggregates your multi-chain assets into a single, easy-to-read view.
